Authorization For Phone Book
At this point, anyone can enter phone book page since no authorization defined. We will define two permission:
- A permission to enter phone book page.
- A permission to create new person (which is a child permission of first one, as naturally).
Permission for Entering Phone Book Page
Define the permission
Go to AppAuthorizationProvider class in the server side and add a new permission as shown below (you can add just below the dashboard permission):
pages.CreateChildPermission(AppPermissions.Pages_Tenant_PhoneBook, L("PhoneBook"), multiTenancySides: MultiTenancySides.Tenant);
A permission should have a unique name. We define permission names as constant strings in AppPermissions class. It's a simple constant string:
public const string Pages_Tenant_PhoneBook = "Pages.Tenant.PhoneBook";
Unique name of this permission is "Pages.Tenant.PhoneBook". While you can set any string (as long as it's unique), it's suggested to use that convention. A permission can have a localizable display name: "PhoneBook" here. (See "Adding a New Page" section for more about localization, since it's very similar). Lastly, we set this as a tenant level permission.
Add AbpAuthorize attribute
AbpAuthorize attribute can be used as class level or method level to protect an application service or service method from unauthorized users. Since all server side code is located in PersonAppService class, we can declare a class level attribute as shown below:
[AbpAuthorize(AppPermissions.Pages_Tenant_PhoneBook)]
public class PersonAppService : PhoneBookAppServiceBase, IPersonAppService
{
    //...
}
Admin role has every static permission by default but those permissions can be reversible on user interface for this role. Go to Roles page, edit role named "admin", go to Permissions tab and revoke "Phone Book" permission and save.
Now, let's try to enter Phone Book page by clicking the menu item without required permission:
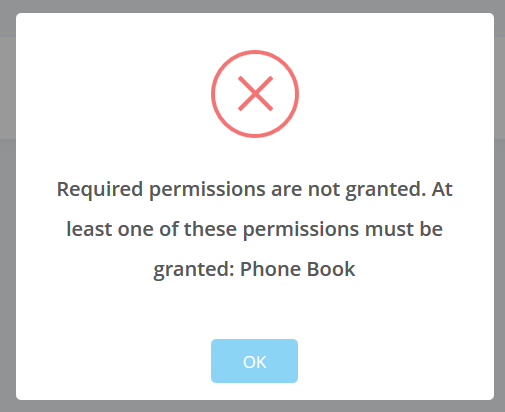
We get an error message. This exception is thrown when any method of PersonAppService is called without required permission.
Guard Angular Route
We got an exception about permission. Server did not send the data but we can still enter the page. To prevent it, open main-routing.module.ts and change the route definition like that:
{
	path: 'phonebook',
	loadChildren: () => import('./phonebook/phonebook.module').then(m => m.PhonebookModule),
	data: { permission: 'Pages.Tenant.PhoneBook' }
}
AuthRouteGuard class automatically checks route permission data and prevents entering to the view if specified permission is not granted. Try to click Phone Book menu!
Hide Unauthorized Menu Item
While user can not enter to the page, the menu item still there! We should also hide the Phone book menu item. It's easy, open app-navigation-service.ts and add change PhoneBook menu definition as shown below:
new AppMenuItem("PhoneBook", 'Pages.Tenant.PhoneBook', "flaticon-book", "/app/main/phonebook")
Grant permission
So, how we can enter the page now? Simple, go to Role Management page and edit admin role:
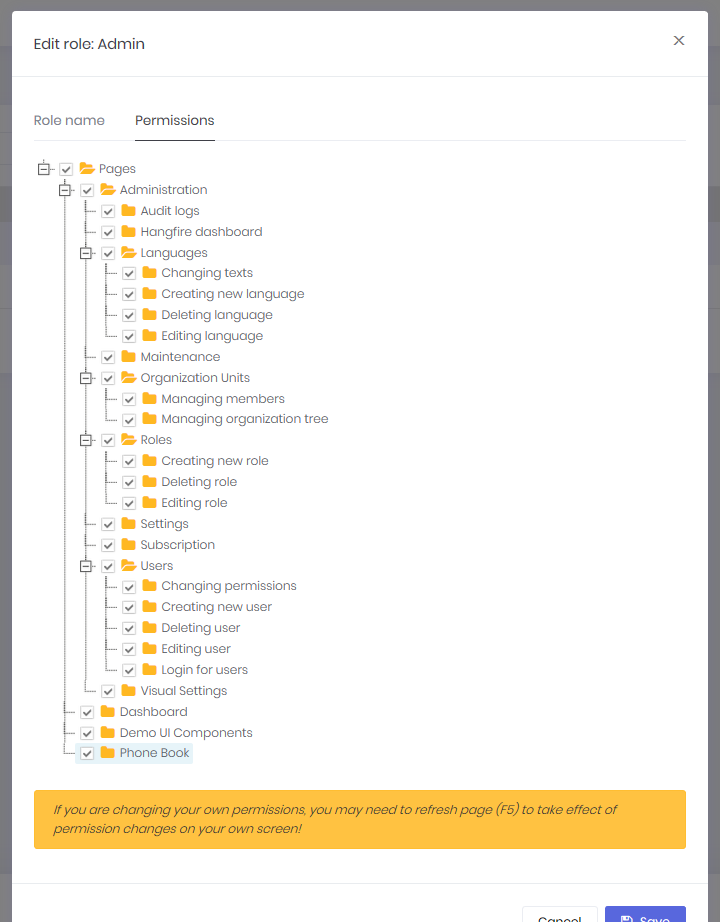
We see that a new permission named "Phone book" added to permissions tab. So, we can check it and save the role. After saving, we need to refresh the whole page to refresh permissions for the current user. We could also grant this permission to a specific user. Now, we can enter the Phone book page again.
Permission for Create New Person
While a permission for a page is useful and probably always needed, we may want to define additional permissions to perform some specific actions on a page, like creating a new person.
Define the Permission
Defining a permission is similar (in the AppAuthorizationProvider class):
var phoneBook = pages.CreateChildPermission(AppPermissions.Pages_Tenant_PhoneBook, L("PhoneBook"), multiTenancySides: MultiTenancySides.Tenant);
phoneBook.CreateChildPermission(AppPermissions.Pages_Tenant_PhoneBook_CreatePerson, L("CreateNewPerson"), multiTenancySides: MultiTenancySides.Tenant);
First permission was defined before. In the second line, we are creating a child permission of first one. Remember to create a constant in AppPermissions class:
public const string Pages_Tenant_PhoneBook_CreatePerson = "Pages.Tenant.PhoneBook.CreatePerson";
Add AbpAuthorize Attribute
This time, we're declaring AbpAuthorize attribute just for CreatePerson method:
[AbpAuthorize(AppPermissions.Pages_Tenant_PhoneBook_CreatePerson)]
public async Task CreatePerson(CreatePersonInput input)
{
    //...
}
Hide Unauthorized Button
If we run the application and try to create a person, we get an authorization error after clicking the save button. But, it's good to completely hide Create New Person button if we don't have the permission. It's very simple:
Open the phonebook.component.html view and add the permission Pages.Tenant.PhoneBook.CreatePerson condition as shown below:
<button *ngIf="'Pages.Tenant.PhoneBook.CreatePerson' | permission" class="btn btn-primary" (click)="createPersonModal.show()"><i class="fa fa-plus"></i> {{"CreateNewPerson" | localize}}</button>
In this way, the "Create New Person" button is not rendered in server and user can not see this button.
Grant permission
To see the button again, we can go to role or user manager and grant related permission as shown below:
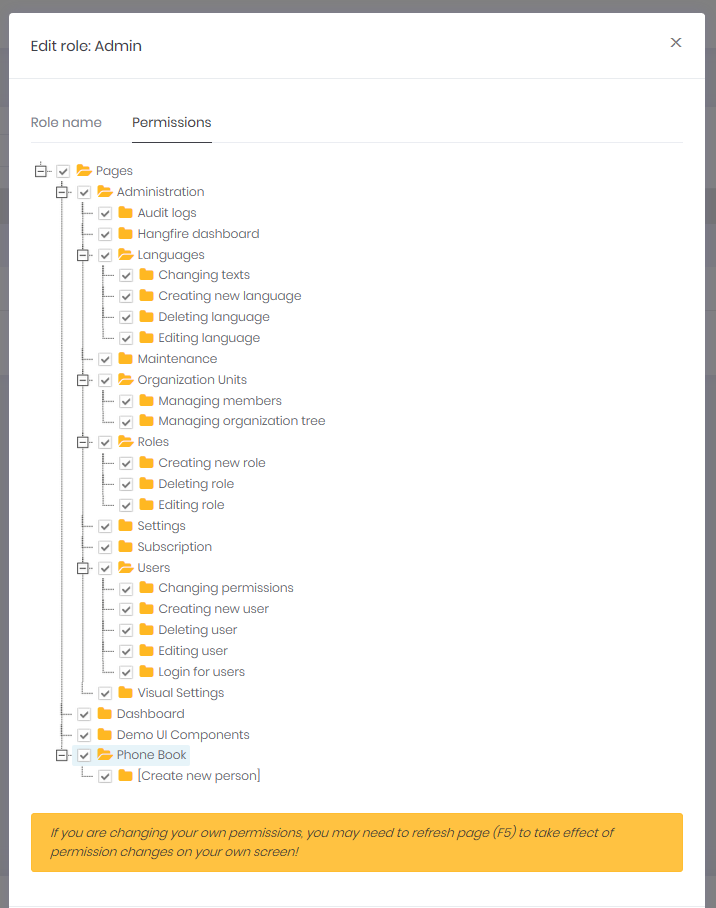
As shown above, Create new person permission is a child permission of the Phone book. Remember to refresh page to get permissions updated.