
Step By Step Publish To Azure
Introduction
Before reading this document, it's suggested to read Getting Started to run the application and explore the user interface. This will help you to have a better understanding of concepts defined here.
Create The Azure Resources
ASP.NET Zero's React client app and server-side Web.Host API app can be published together or separately. In this document, we will publish both apps separately.
Go to your Azure Portal and create two resources:
- Azure App Service for the Web.Host API project
- Azure Static Web App or App Service for the React application
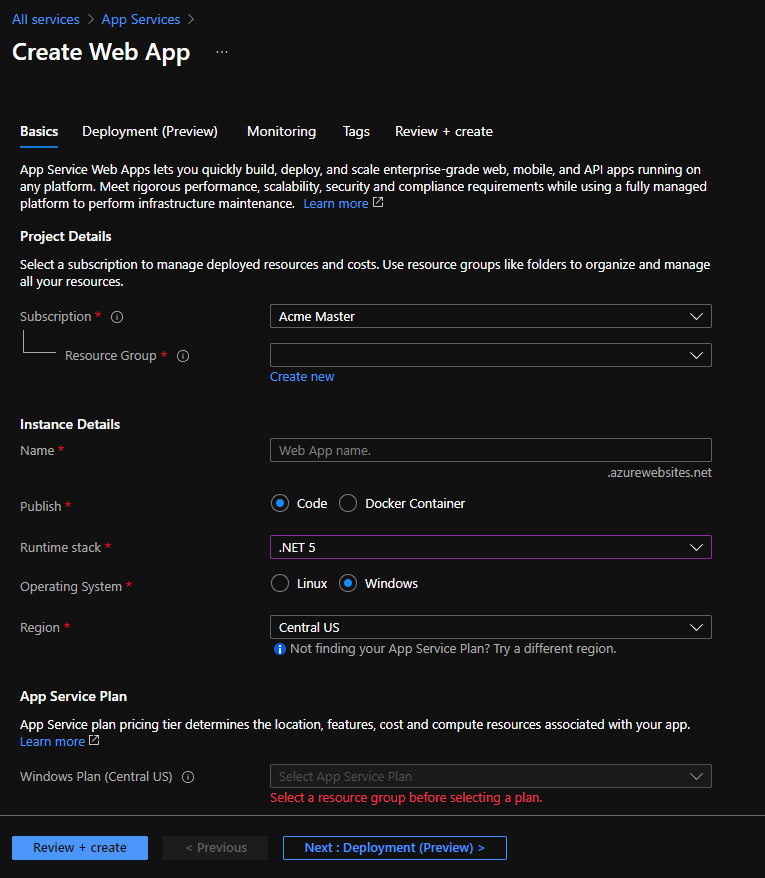
Creating an Azure App Service for Host API
On Azure portal menu, go to App Services and click "Create App Service" button. Fill the form correctly and create the app service for the API.
Creating an Azure Resource for React
For the React application, you have two options:
- Azure Static Web Apps (Recommended for SPAs) - Optimized for static content with built-in CI/CD
- Azure App Service - Traditional web app hosting
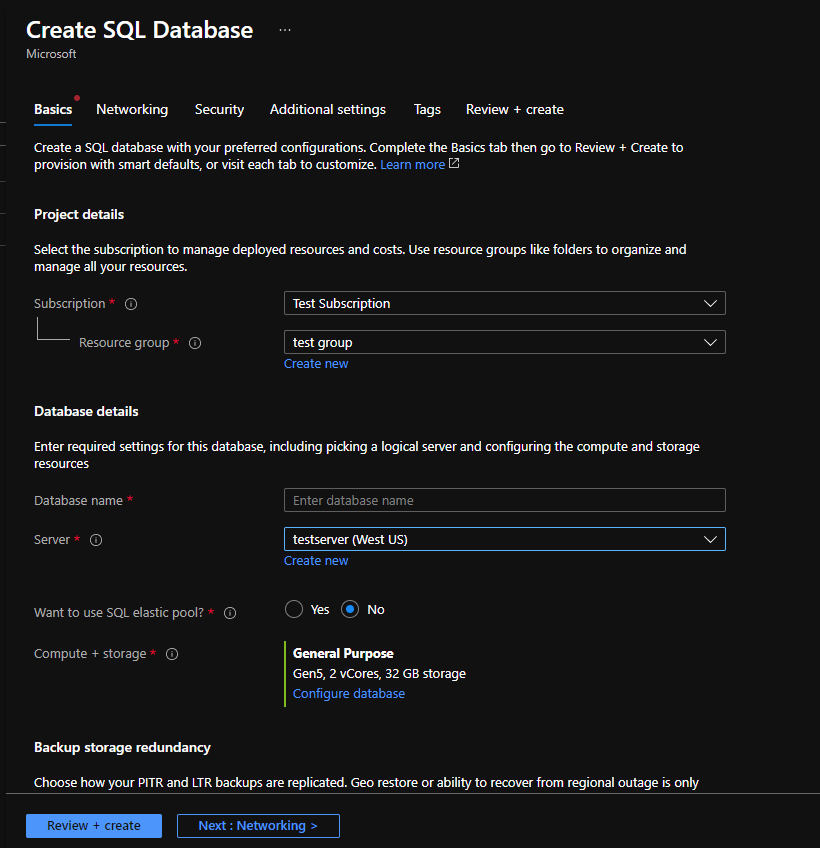
Create the Database Service
On Azure portal, go to SQL databases menu and create a new empty database. If you haven't created a new Server on Azure, click "create new" link under the Server selection combobox and first create a Server.
Publish Host Application to Azure
Here are the quick steps to publish the Host Application to Azure:
- Run the migrations on Azure
- Configure the
.Web.Host/appsettings.production.json - Publish the application to Azure
Run Migrations on Azure
One of the best ways to run migrations on Azure is running update-database command in Visual Studio.
In order to do that, your public IP address should have access to the Azure SQL Database.
Configuring the Firewall for Client Access
The easiest way: Open SQL Server Management Studio and enter the Azure database settings, then click connect. If you are already logged in to Azure, the following info screen will be shown:
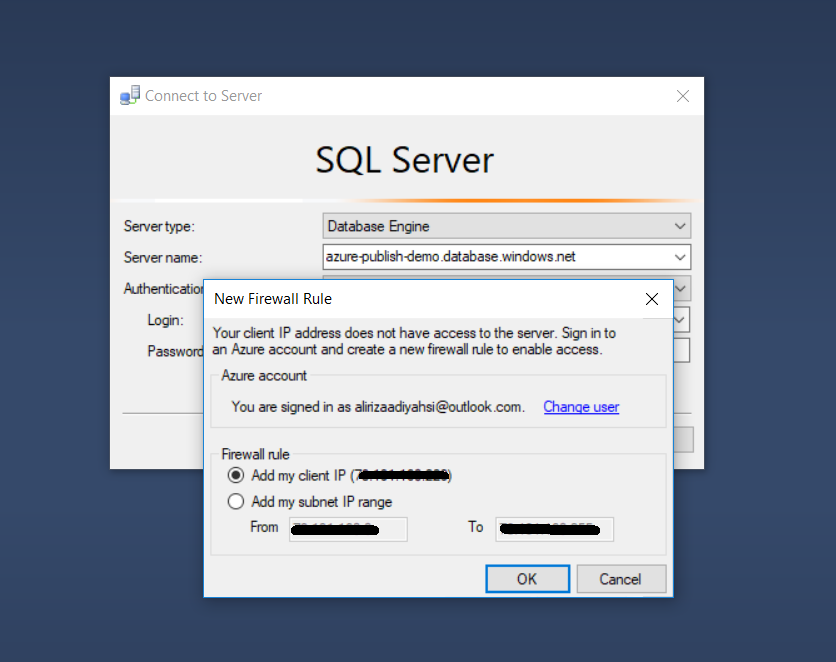
Now your client IP address has access to Azure. This operation can also be done via the Azure Portal. Check here to learn how to configure the firewall for client access via Azure Portal.
Apply Migrations
Open appsettings.json in .Web.Host project and change connection settings according to the Azure Database:

Open Package Manager Console in Visual Studio, set .EntityFrameworkCore as the Default Project and run the update-database command as shown below:
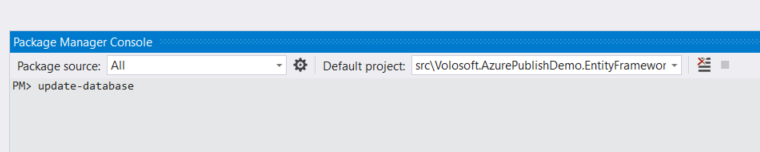
As an alternative, you can use the Migrator project in your solution instead of running Update-Database command. It is suggested to use the Migrator project for migration operations.
Configure appsettings.production.json
Since your application will run in Production environment, Azure will use appsettings.production.json that is placed in Web.Host, so this file should be configured like following:
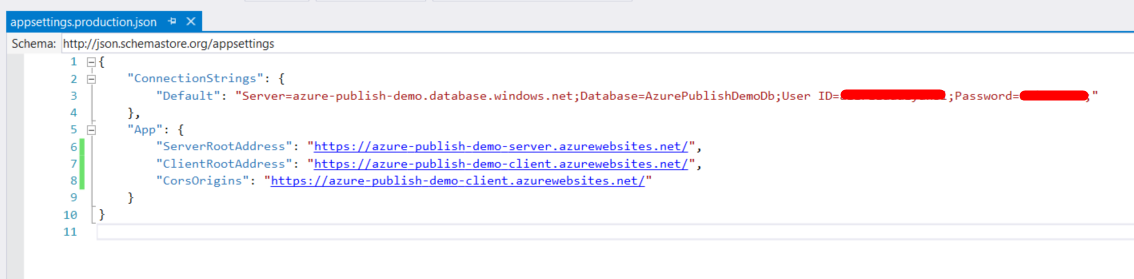
ServerRootAddress: The URL of your Host application on AzureClientRootAddress: Your React UI's URL on AzureCorsOrigins: Allowed websites that can make requests to your Host application. Must include your React app's URL.
Publish
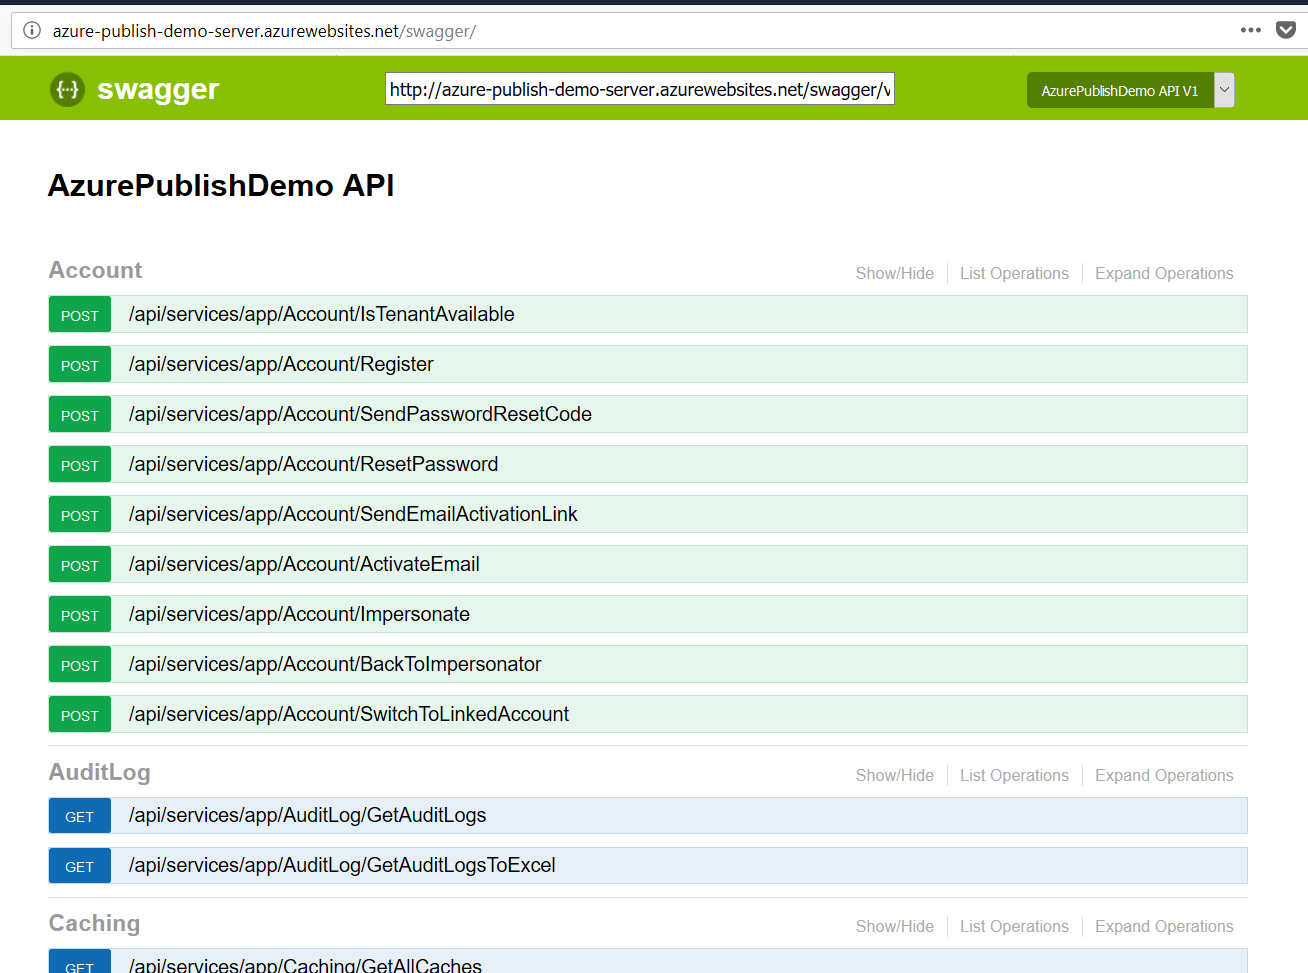
Right click the Web.Host project and select "Publish". Select "Azure" and follow the wizard to publish to your App Service.
Publish React to Azure
Here are the steps to publish the React application to Azure:
1. Configure Environment Variables
The React application uses Vite environment variables for configuration. Create or update the .env.production file in your project root:
VITE_API_BASE_URL=https://your-host-api.azurewebsites.net
This URL should point to your published Host API application.
2. Build the Application
Run the following commands to build the React application:
pnpm install && pnpm build
# or
npm install && npm run build
This will create a production build in the dist/ folder.
3. Deploy to Azure
Option A: Azure Static Web Apps (Recommended)
- In Azure Portal, create a new Static Web App
- Connect it to your Git repository
- Configure the build settings:
- App location:
/ - Output location:
dist - Build command:
npm run build
- App location:
Azure will automatically build and deploy your app on each push.
Option B: Azure App Service with FTP
- Create a
web.configfile in thedist/folder for IIS URL rewriting:
<?xml version="1.0" encoding="utf-8"?>
<configuration>
  <system.webServer>
    <rewrite>
      <rules>
        <rule name="React Routes" stopProcessing="true">
          <match url=".*" />
          <conditions logicalGrouping="MatchAll">
            <add input="{REQUEST_FILENAME}" matchType="IsFile" negate="true" />
            <add input="{REQUEST_FILENAME}" matchType="IsDirectory" negate="true" />
          </conditions>
          <action type="Rewrite" url="/index.html" />
        </rule>
      </rules>
    </rewrite>
    <staticContent>
      <remove fileExtension=".json" />
      <remove fileExtension=".woff" />
      <remove fileExtension=".woff2" />
      <mimeMap fileExtension=".json" mimeType="application/json" />
      <mimeMap fileExtension=".woff" mimeType="application/font-woff" />
      <mimeMap fileExtension=".woff2" mimeType="application/font-woff2" />
    </staticContent>
  </system.webServer>
</configuration>
If you host the React app on Windows/IIS, make sure the .woff and .woff2 MIME types are present in staticContent. Otherwise, font files may fail to load and icons or custom fonts may not render correctly.
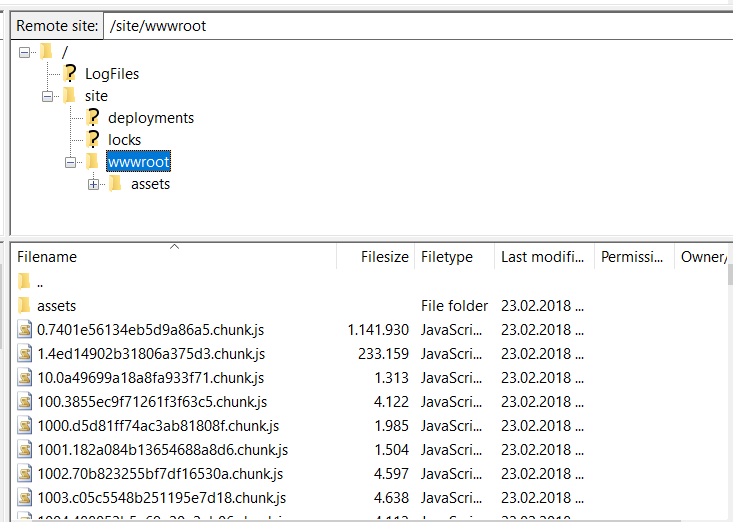
- Upload all files from the
dist/folder to thewwwrootfolder on Azure via FTP or Azure Portal.
4. Verify Deployment
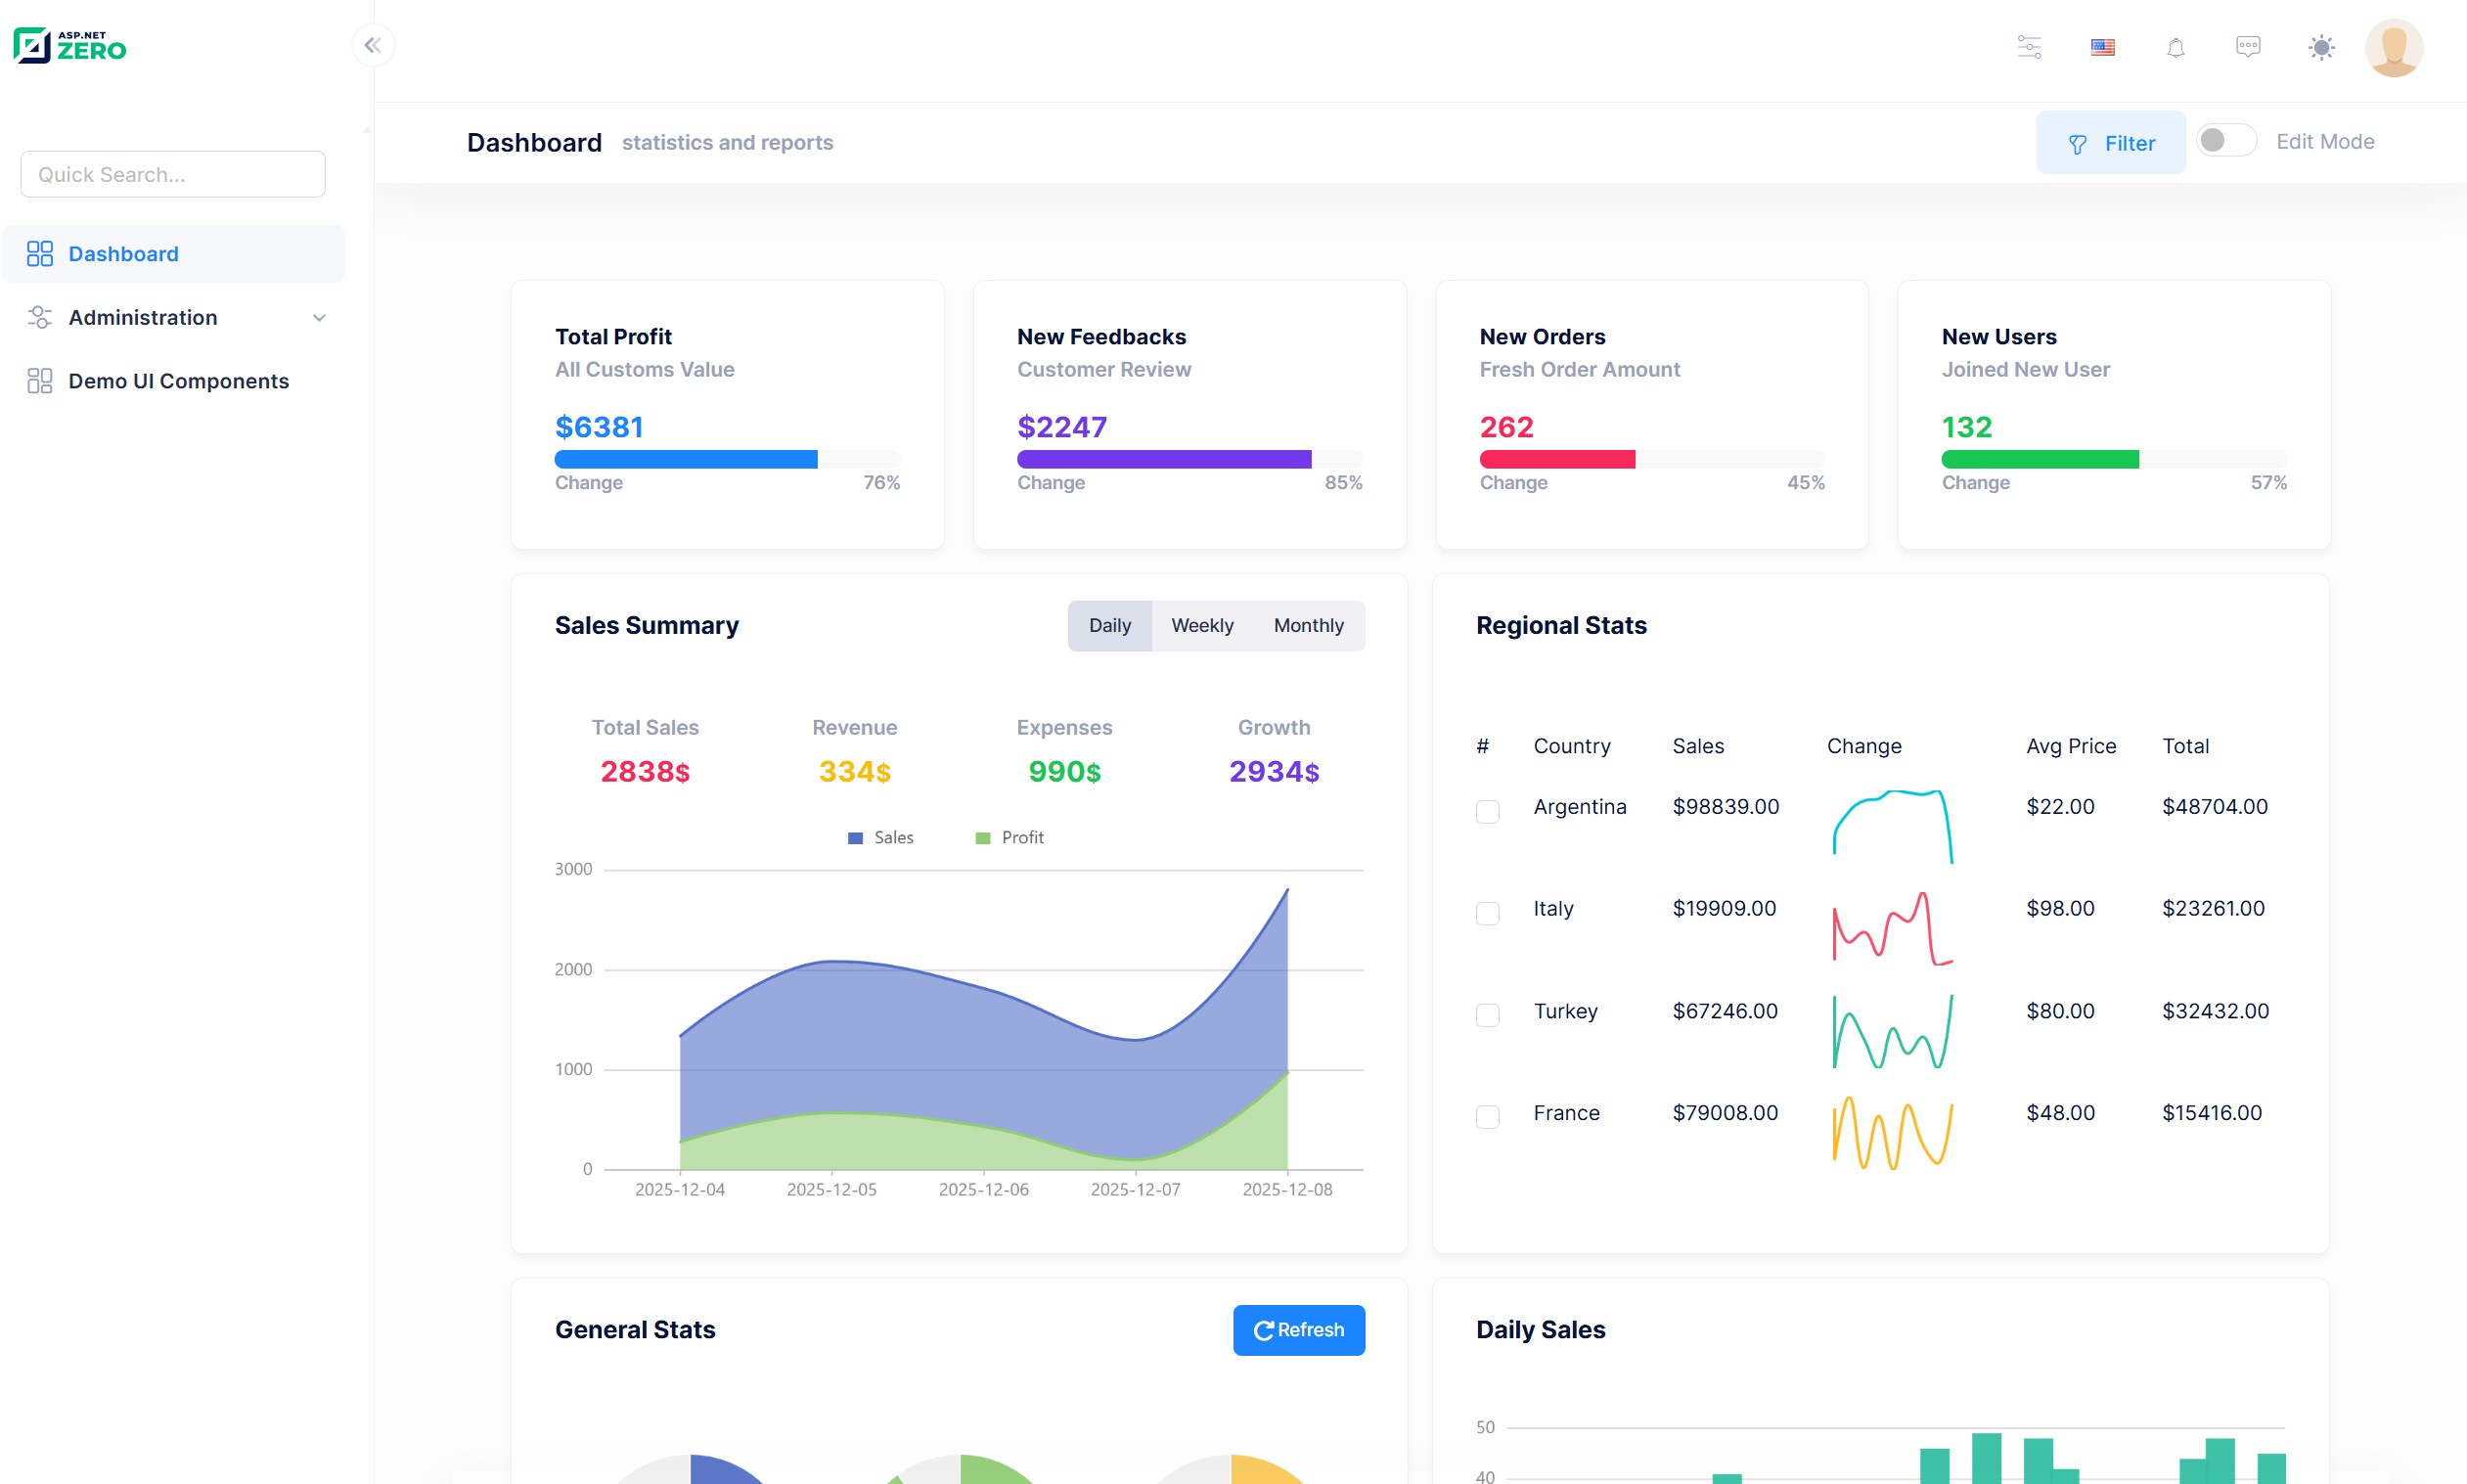
Browse to your React application URL (e.g., https://your-react-app.azurewebsites.net) and verify it works correctly.
Summary
| Component | Azure Resource | Configuration |
|---|---|---|
| Host API | App Service | appsettings.production.json |
| React UI | Static Web App or App Service | .env.production with VITE_API_BASE_URL |
| Database | Azure SQL Database | Connection string in Host API |