
Getting Started
This document is aimed to create and run an ASP.NET Zero based project in just 5 minutes. It's assumed that you already purchased and created your ASP.NET Zero account.
Create Your Project
Login to aspnetzero.com with your username and password. Go to the download page. You will see a form as shown below:
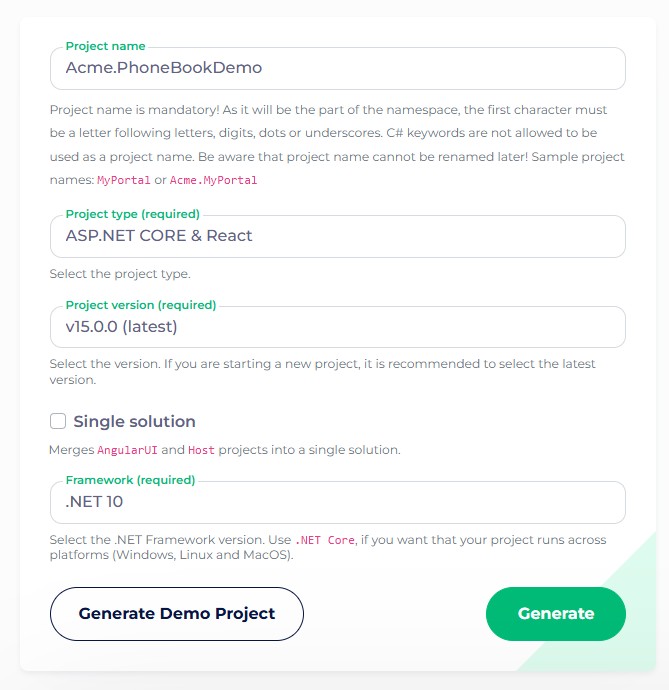
Select ASP.NET Core & React as Project Type and fill other required fields. Your project will be ready in one minute. When you open the downloaded zip file, you will see four folders:
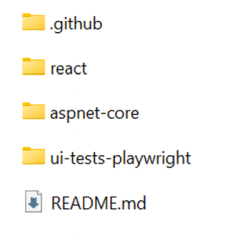
- react folder contains the React UI application which is configured to work with the Vite.
- aspnet-core folder contains the server side ASP.NET Core solution and configured to work with Visual Studio.
- ui-tests-playwright folder contains end-to-end tests for the UI using Playwright, a Node.js library for browser automation. This folder is configured to work with Visual Studio Code.
Pre Requirements
- Visual Studio 2022 (v17.10+) (for backend ASP.NET Core application)
- Node.js 22.22.3+, 24.15.0+ or 26+
- pnpm 10 or newer (the project is pinned to
[email protected])
ASP.NET Core Application
When you open the server side solution (*.Web.sln) using Visual Studio 2022+, you will see the solution structure as below:
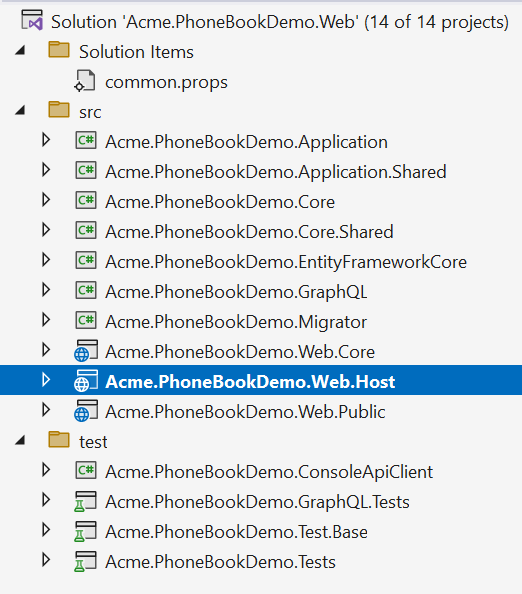
If you want to work on only MAUI project, open *.Maui.sln solution. If you want to work on both of MAUI and Web projects, open *.All.sln solution.
Right click the .Web.Host project and select "Set as Startup project". Then build the solution. It may take a longer time during the first build since all nuget packages will be restored.
Database
Connection String
Open appsettings.json in .Web.Host project and change the Default connection string if you want:
"ConnectionStrings": {
    "Default": "Server=localhost; Database=PhoneBookDemoDb; Trusted_Connection=True; TrustServerCertificate=True;"
}
Migrations
We have two options to create and migrate database to the latest version.
ASP.NET Zero Migrator Application
ASP.NET Zero solution includes a .Migrator (like Acme.PhoneBookDemo.Migrator) project in the server side solution. You can run this tool for database migrations on development and production (see migrator docs for more information).
Entity Framework Migration Command
You can also use Entity Framework Core's built-in tools for migrations. Open Package Manager Console in Visual Studio, set *.EntityFrameworkCore as the Default Project and run the Update-Database command as shown below:

This command will create your database. Initial data will be inserted when you run the *.Web.Host project. You can open SQL Server Management Studio to check if database is created:
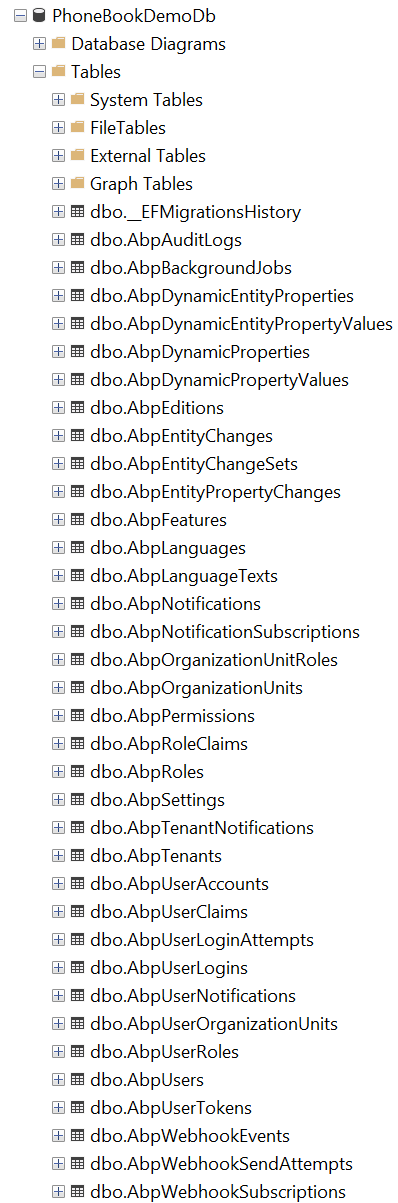
You can use EF console commands for development and Migrator.exe for production. But notice that; Migrator.exe supports running migrations in multiple databases at once, which can be useful in development/production for multi tenant applications.
Configure Multi-Tenancy
ASP.NET Zero supports multi-tenant and single-tenant applications. Multi-tenancy is enabled by default. If you don't have an idea about multi-tenancy, you can read it on wikipedia.org/wiki/Multitenancy. If you don't want to create a multi-tenant application, you can disable it by setting PhoneBookDemoConsts.MultiTenancyEnabled to false in the *.Core.Shared project (name of the PhoneBookDemoConsts will be like YourProjectNameConsts for your project).
Run API Host
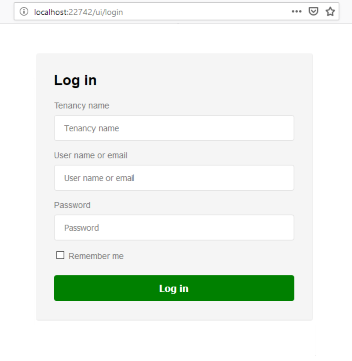
Once you've done the configuration, you can run the application. Server side application only contains APIs. When you start the application you will see a login page like below:
If you log in to host application, then you will see a page like below:
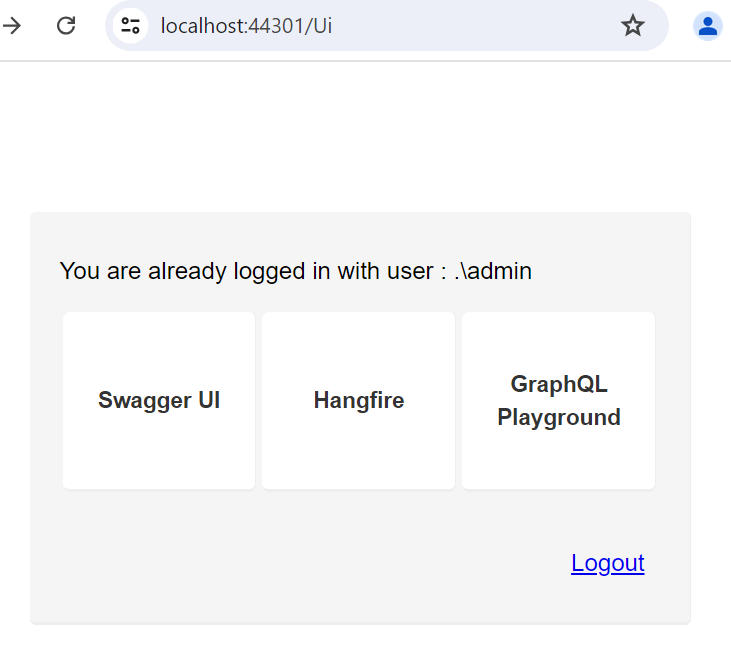
You can navigate to Swagger UI, Hangfire Dashboard or GraphQL Playground from this page. Note that, by default only Swagger UI and GraphQL Playground is enabled, you can enable Hangfire by following Hangfire documentation.
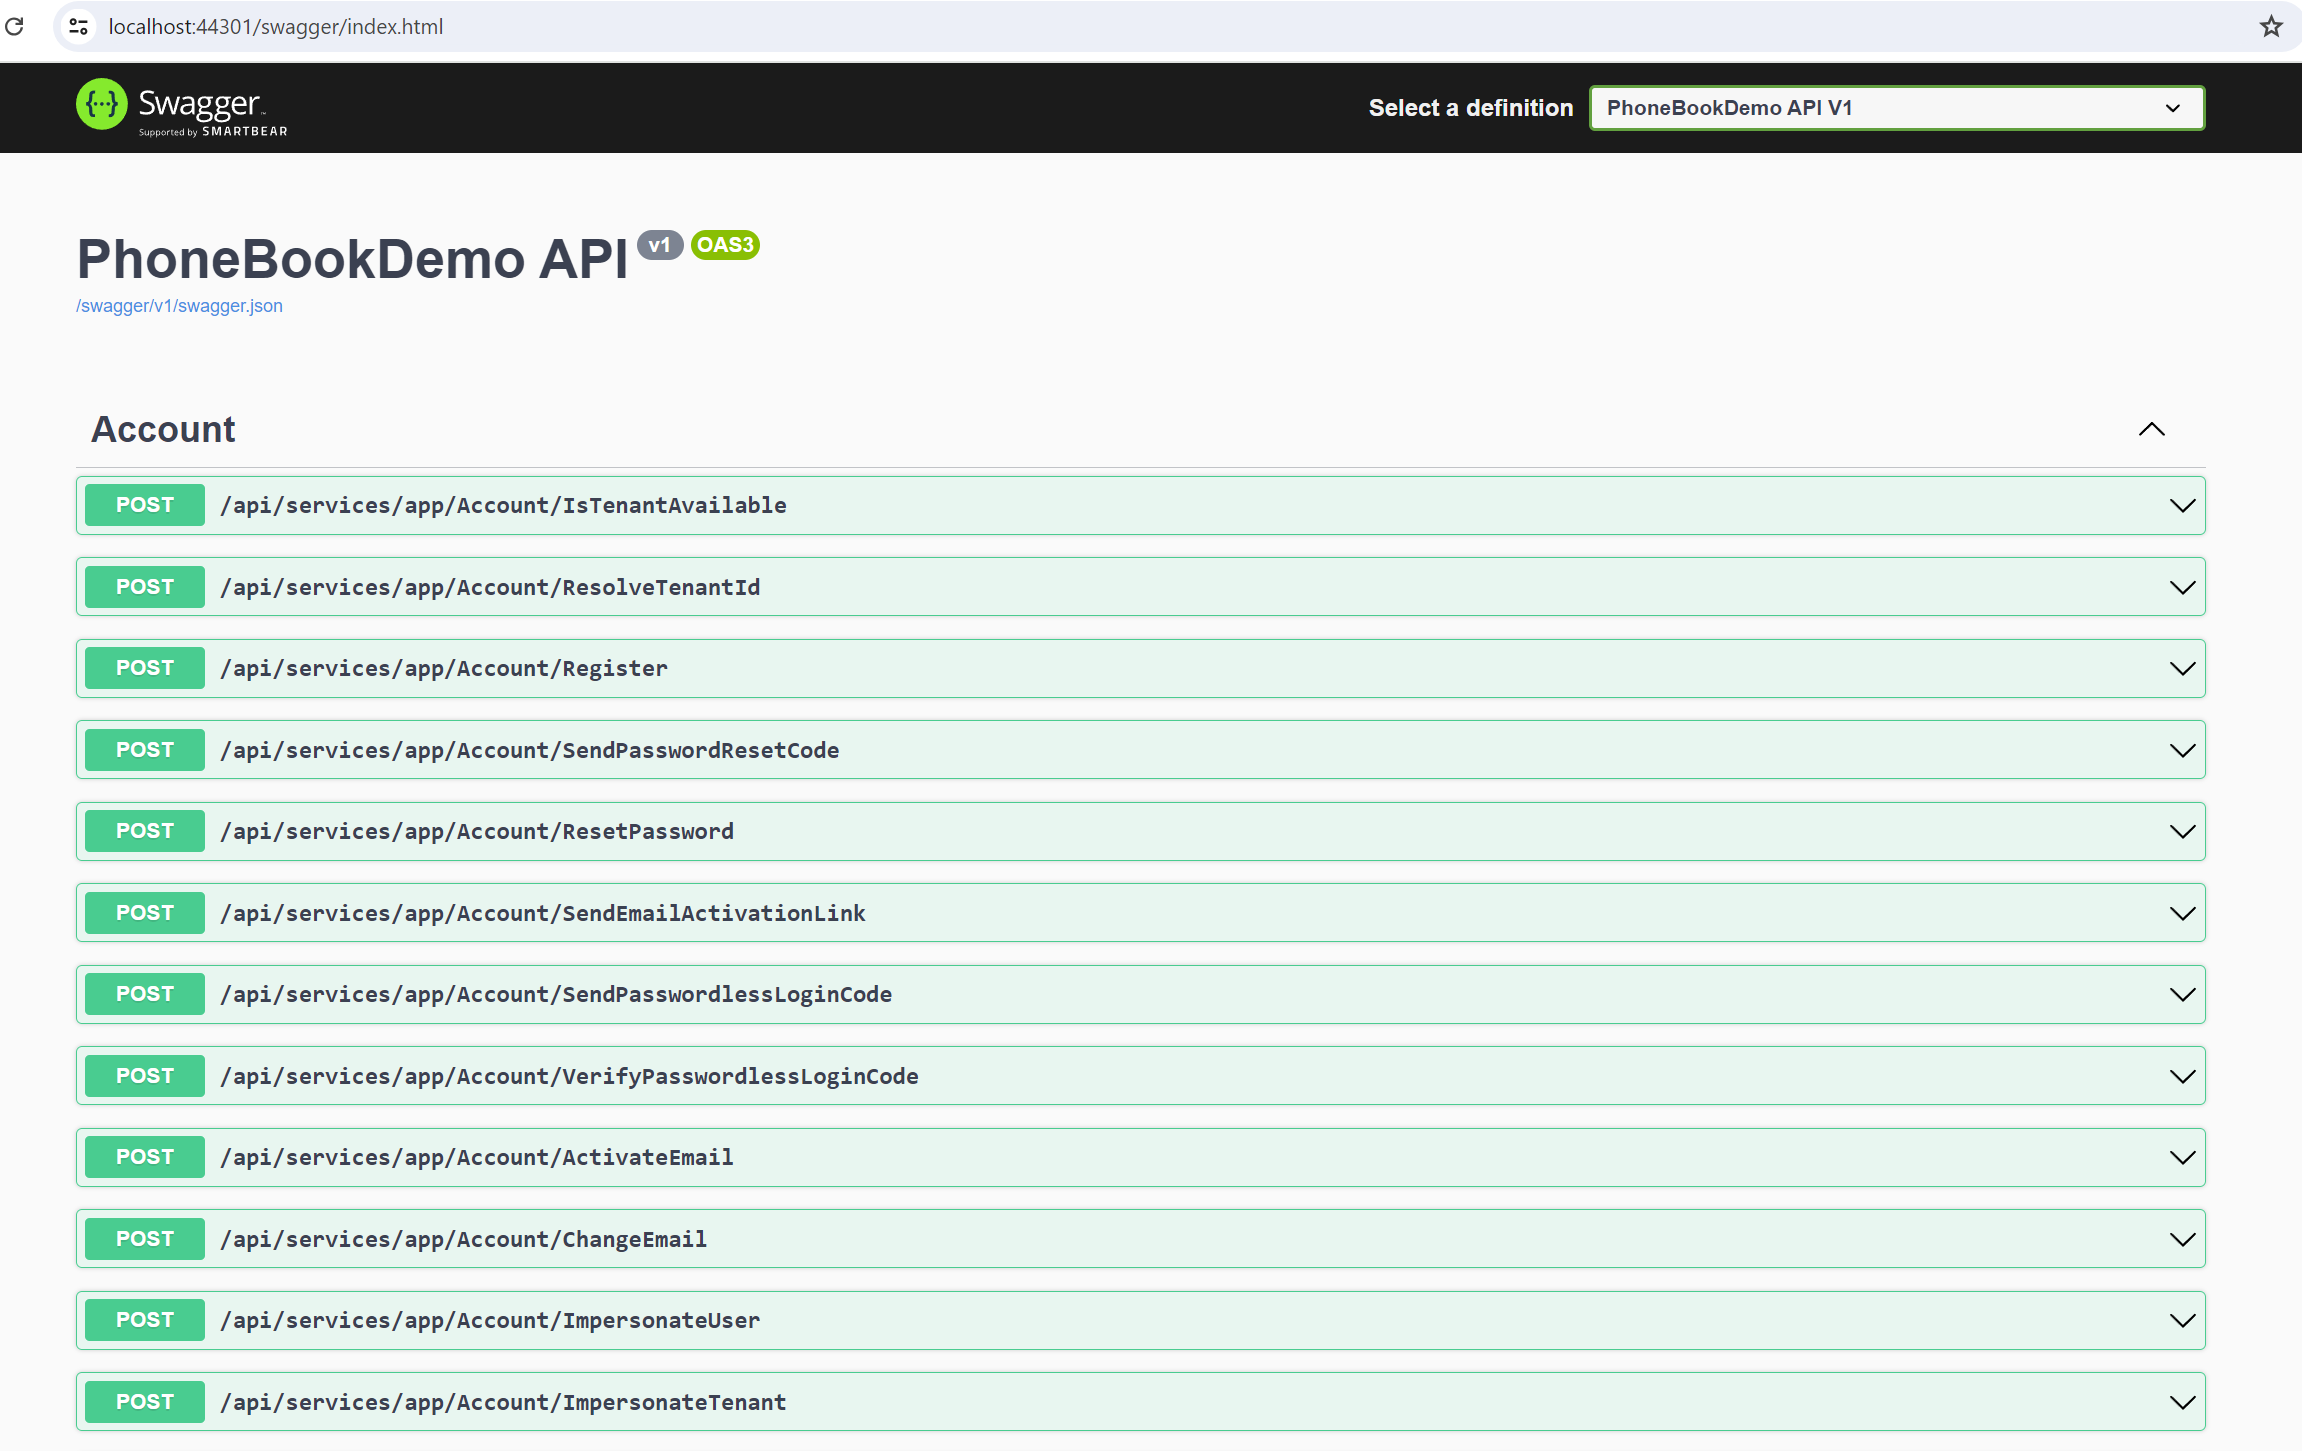
For example when you navigate Swagger UI, you will see following page:
React Application
Restore Packages
Navigate to the react folder, open a command line and run the following command to restore the packages:
pnpm install
We use pnpm for faster and more deterministic dependency resolution. The pinned version is declared in package.json under the packageManager field, so pnpm 10+ (or Corepack, if you run corepack enable) activates the correct pnpm version automatically. NPM also works if you prefer it (npm install).
pnpm 10 or newer is required. pnpm settings live in react/pnpm-workspace.yaml, because pnpm 11 only reads authentication and registry settings from .npmrc. pnpm 9 and older read that file as a workspace definition and fail with ERROR packages field missing or empty. If you get that error, run npm i -g [email protected].
Running The Application
Run the following command in the command line:
pnpm dev
Once the application compiled, you can browse http://localhost:4200 in your browser.
Login
All ready! Now, you can login to the application:
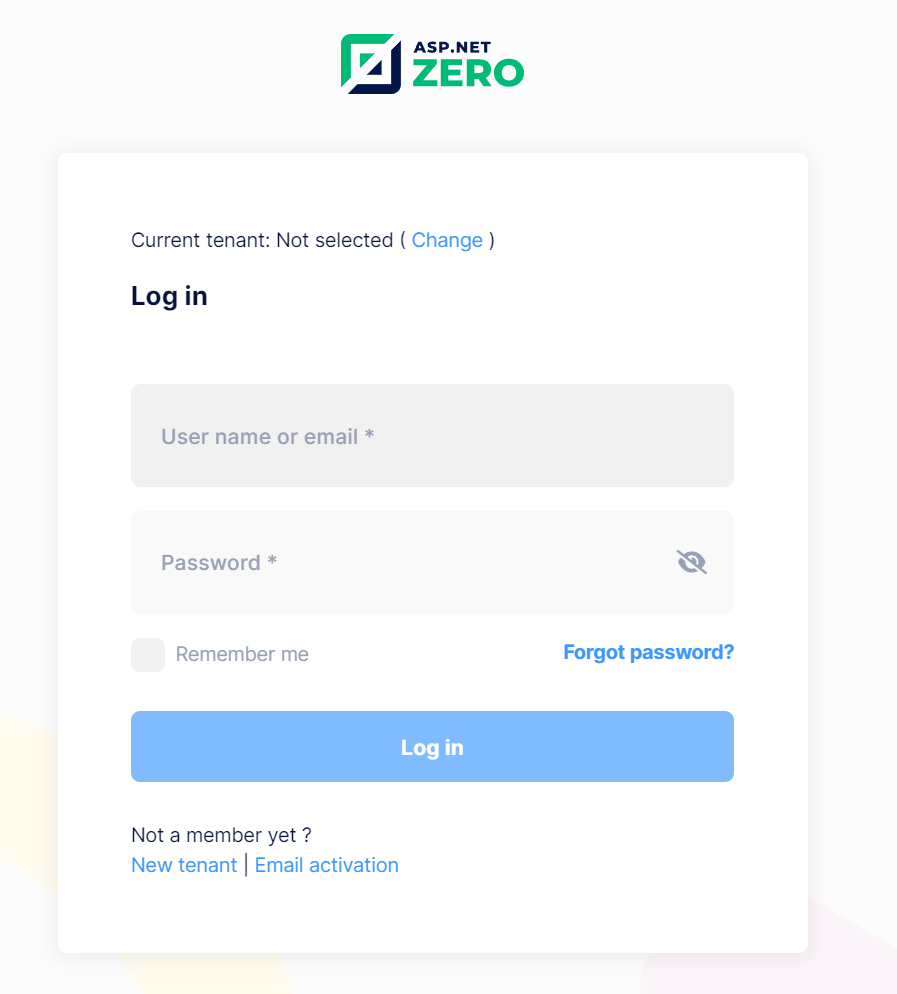
If multi-tenancy is enabled, you will see the current tenant and a change link. If so, click to Change and enter default as tenant name. If you leave it empty, you login as the host admin user. Then enter admin as username and 123qwe as password (remember to change it to a more secure password on production!).
Application UI
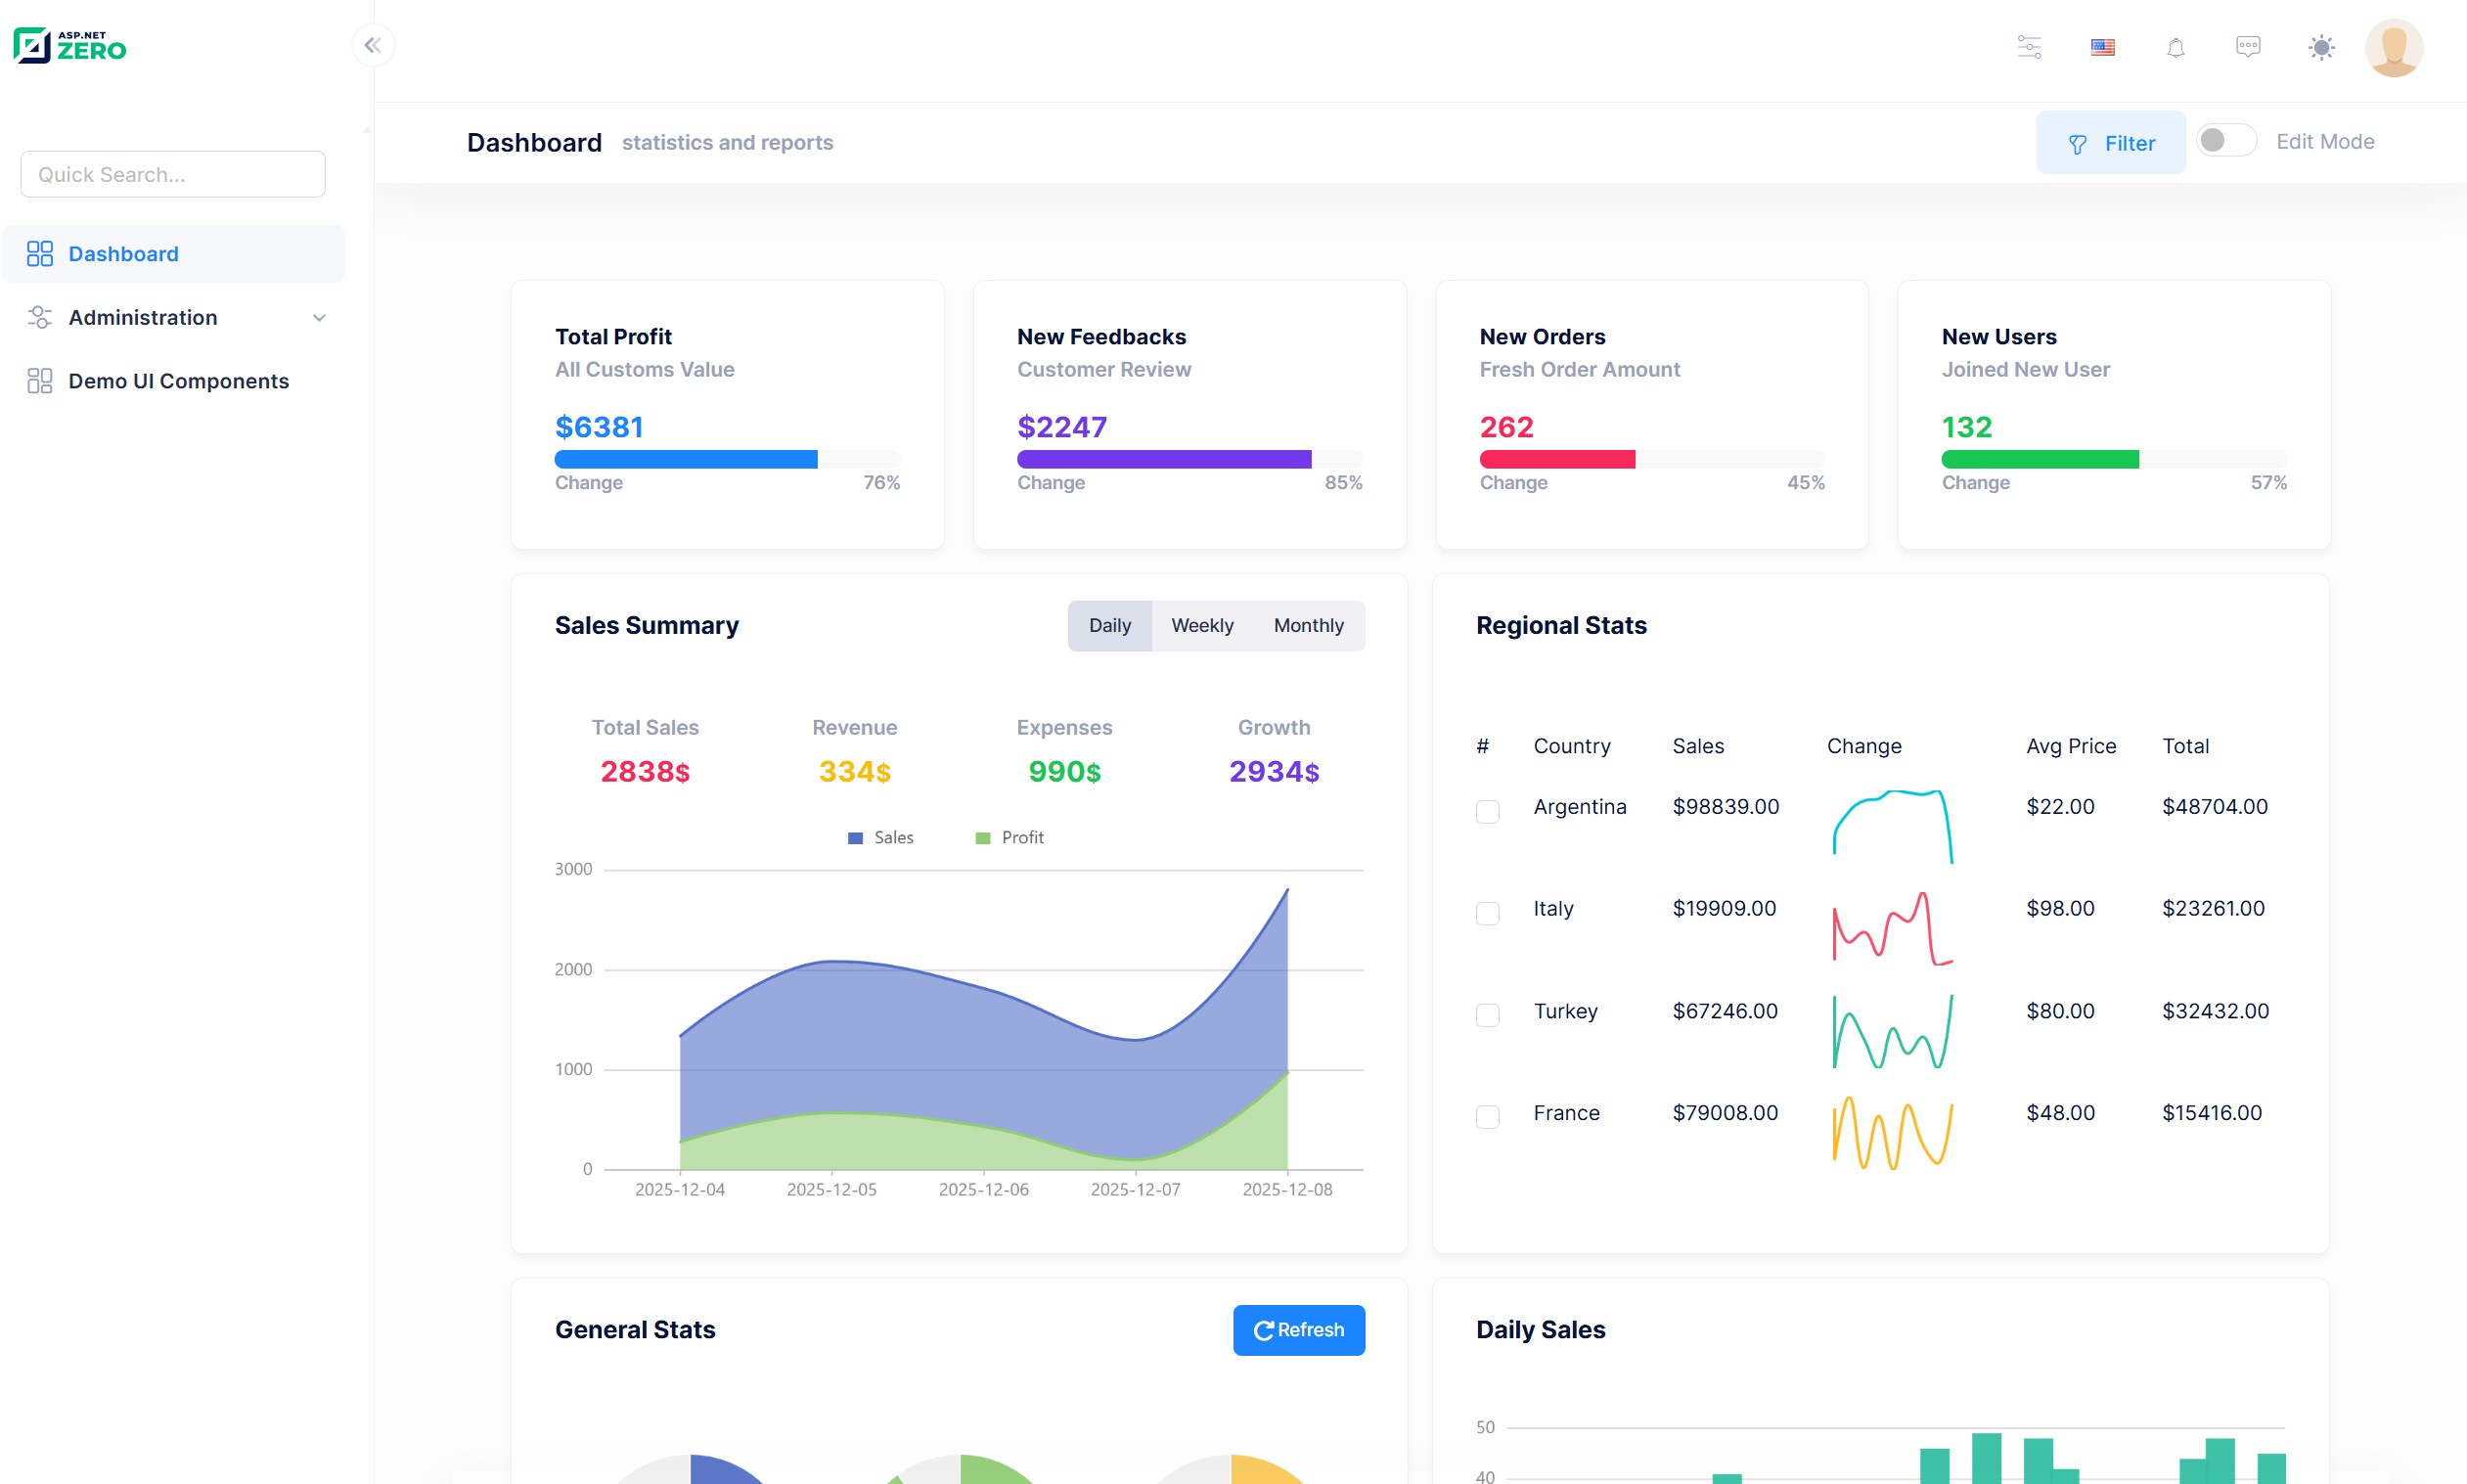
When you login to the application as a Tenant admin, you will see the sample dashboard screen:
ASP.NET Zero Power Tools
ASP.NET Zero Power Tools lets you create a new page from the database to the UI layer by defining your entity properties. It creates the entity, related permissions, application services, DTOs, client-side code, menu items, database migrations, tests, and more.
Power Tools is installed as a .NET global tool and opens a web-based UI. See Power Tools Getting Started to install and run it.